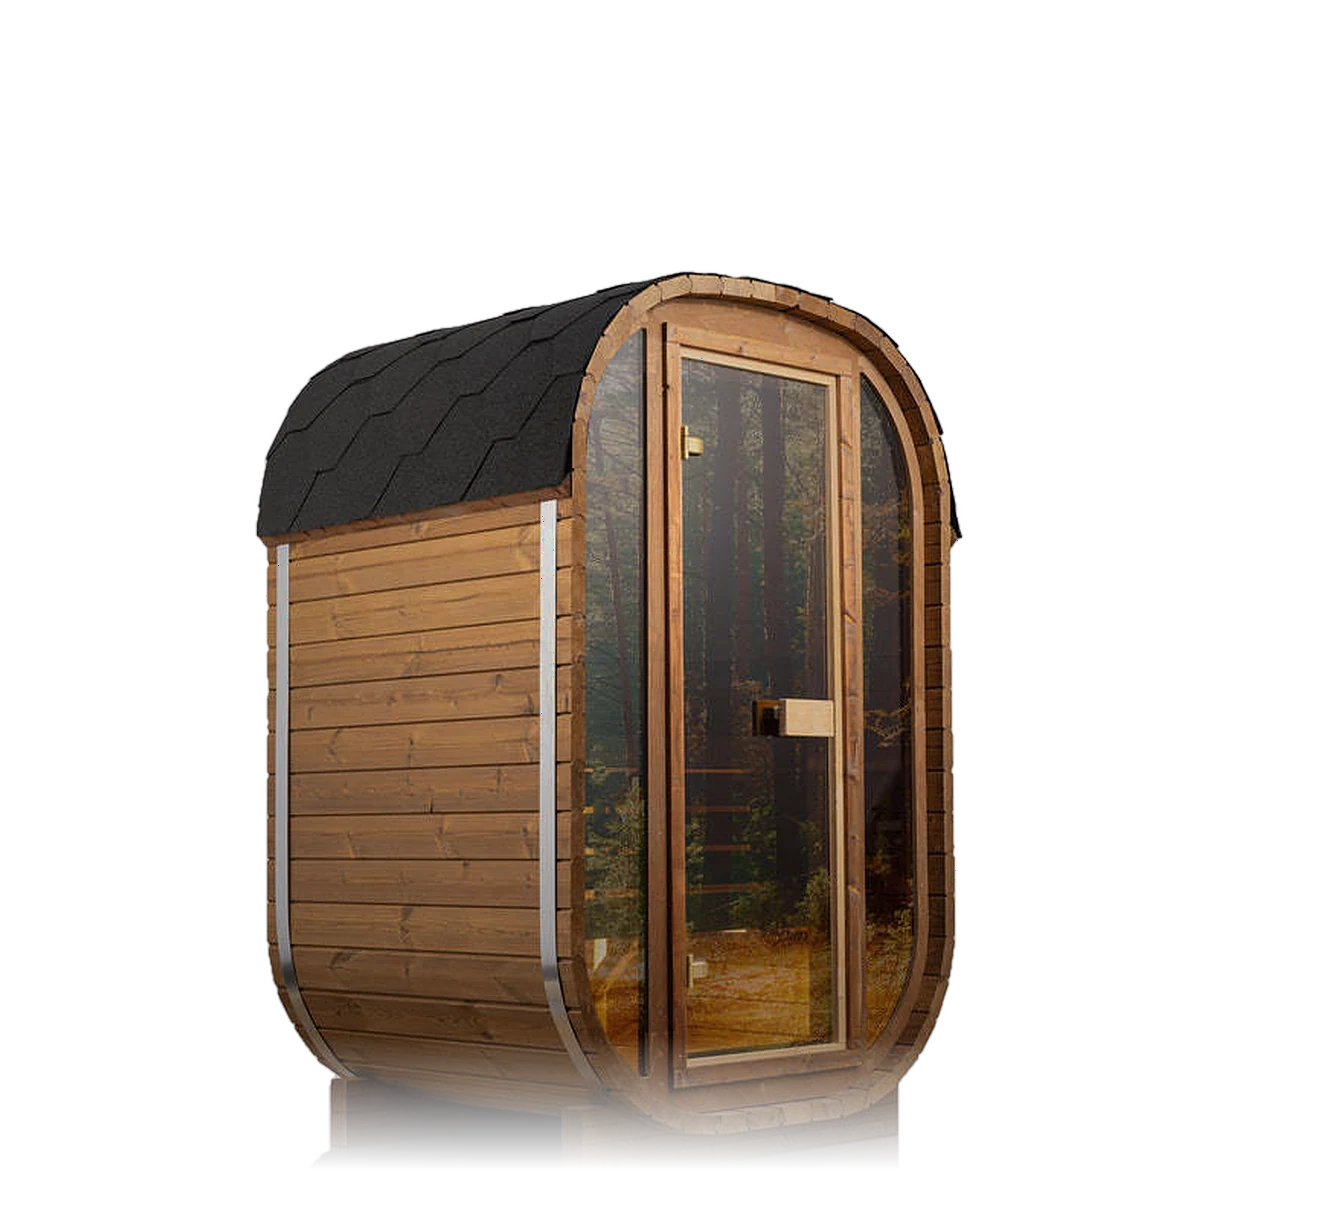
How to Build a Luxury Home Recovery Room
A recovery room is not a collection of appliances in a spare bedroom. The equipment is the easy part; the room is what determines whether any of it works, and the decisions that are expensive to reverse are all made before anything is delivered.
Start with the room, not the equipment
Measure the space, then work out what it can support: the electrical capacity available, whether there is or could be a drain, how air moves through it, and what the floor can carry. Every equipment decision is downstream of those four answers.
The four constraints that are expensive to change later
- Electrical. Saunas and chillers frequently need dedicated circuits. Adding one after the room is finished means opening walls. Have a licensed electrician assess the panel during planning.
- Drainage. If a cold plunge is even a possibility, put drainage in now. Retrofitting it is the single most expensive change in a recovery room.
- Ventilation and moisture. A sauna and a plunge in one room create a humidity load that ordinary domestic extraction will not handle. Treat it as a mechanical design question.
- Structure. Water is heavy. A filled plunge plus occupant can exceed 1,000 pounds concentrated in a small footprint. Above ground level, have a structural engineer confirm it.
Layout and workflow
Think about the sequence someone actually follows: in, heat, out, cold, dry, dress. A sauna at one end and a plunge at the other, with no towel space and no non-slip path between them, produces a room people stop using. Keep the wet path short, continuous, and safe underfoot.
Leave service access to every unit. A chiller boxed into a cupboard for aesthetic reasons becomes a very expensive problem the first time it needs attention.
Noise
Chillers and compressors run at night. Site plant away from bedrooms and consider acoustic separation. This is one of the most common regrets in residential installations and one of the hardest to fix afterwards.
Finishes
- Sealed, non-slip flooring throughout the wet zone.
- Wall finishes that tolerate humidity without degrading.
- Adequate, warm lighting — a recovery room lit like a garage does not get used like a recovery room.
- Somewhere to sit, somewhere to put a towel, and somewhere to leave a phone dry.
Plan for what you will add later
Most people add a second modality within two years. Running a spare circuit and leaving a drain capped during the build costs very little; adding either afterwards costs a great deal.
Our recovery room planning pages cover this in detail, and build your recovery room works through configuration step by step. For budget, see how much a home recovery room costs. IMPERVITA provides planning guidance and equipment specification support; we are not architects, engineers, or licensed contractors, and structural, electrical, and mechanical work should be designed and carried out by qualified professionals.
Information provided by IMPERVITA is for educational and general wellness purposes and is not intended to replace professional medical advice, diagnosis, or treatment.